A contested river crossing is one of the hardest situations in warfare. I present scenario 5 from the book One-Hour Wargames, but resolved using another Neil Thomas' ruleset called Simplicity in Practice (SiP). For adaptation notes see my first battlerep with this combo HERE.
.jpeg) |
| The objective of the scenario for BLUE is to consolidate a bridgehead north of the river |
The composition of the armies is:
BLUE: 4 infantry, 1 skirmishers, 1 cavalry
RED: 3 infantry, 1 skirmishers, 2 cavalry
Blue will arrive along the road and Red piecemeal at three random points: west of the woods, on the road and east of the hill.
 |
| At the start BLUE has a single unit north of the river: shadowy voltigeurs have taken the woods. |
 |
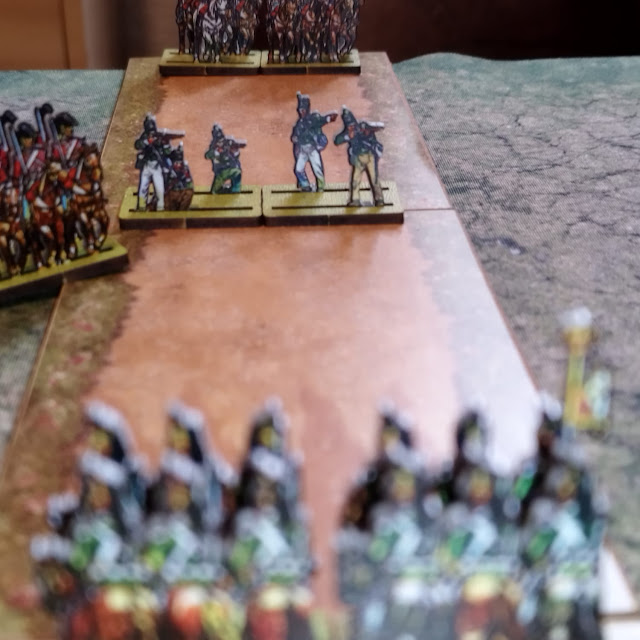
| The first RED units show up west of the woods |
 |
| Since cavalry cannot enter the woods, they take a tortuous route around them. Unseen, the lurking skirmishers take aim |
 |
| BLUE cavalry crosses the bridge benefiting from a road move of 30cm. In a river crossing, Space is everything! |
 |
| An ominous sighting coming south: RED's advance guard! |
 |
| The RED cavalry unit that has gone around the woods charges head on the dragoons on the road... |
 |
| ...they are beaten by BLUE cavalry, but the rifles advance to try to avenge them |
 |
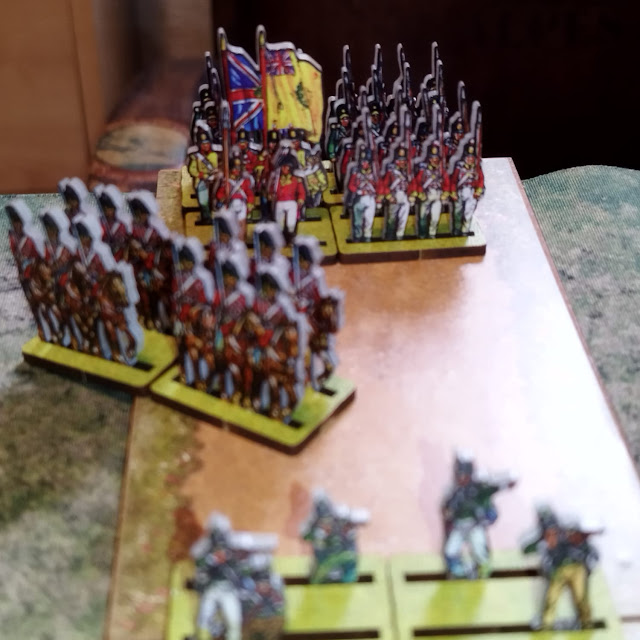
| More BLUE units are crossing the bridge. Will they have time to deploy into something resembling a line? |
 |
| Paradoxically, RED is dealing with a bottleneck of their own doing as units keep showing up on the road |
 |
| BLUE dragoons repel the second charge of the day! The colonel is eyeing a deserved promotion. |
 |
| BLUE line is shaping up nicely. "Keep crossing, mes enfants!" |
 |
| The view from RED's lines: BLUE has more infantry on the road which means superior firepower! The heroic dragoons hold the center |
 |
| What a beautiful line! Not even on parade grounds! They have wiped out RED's cavalry. Will this crossing end up in textbooks? |
 |
| BLUE skirmishers attempt a crazy sortie. They have seen the head of RED's column waver and decide to come out of the woods to get in range and finish them. |
 |
| They fail and get destroyed by a flank attack! Why did you step out? |
 |
| More bad news for BLUE: The dragoons, the bulwark of the army hitherto... are no more. They took heavy rifle fire and their demise leaves a gaping hole in the center |
 |
| The pivot to cover the hole is too slow. RED's momentum keeps piling. BLUE's left near the woods is crumbling |
 |
| A series of desperate charges and counter-charges and most fall RED's way. |
 |
| Last turn and all comes down to the charge of BLUE veterans in dustcoats. The straw marks the radius from the bridge that must be be cleared of RED's units. |
 |
| The last roll settles the battle. RED has a +4 bonus and on top of that rolls well. A win for RED!! The crossing has been prevented!! |
CONCLUSION
A thrilling scenario that is hard for BLUE but alas! they were one dice roll away. All was going well until the skirmishers got fancy. It turns out their fire from cover was holding the left flank. Simplicity in Practice worked extremely well for the geometric maneuvers needed to successfully pull off a contested crossing. In the rules, if close order infantry pivots they can only move 5cm. That means that carefully consideration and planning must be given to spatial concerns.
During the last stages of the battle I couldn't help but think of the account of Aspern-Essling that I read in the book Three Napoleonic Battles by Harold T. Parker. How agonizing is to have your back against a river and see the enemy pressing on! I wholeheartedly recommend this book. If some battle from history involving a river crossing interests you particularly, please tell me in the comments.


Love to see 'Simplicity in Practice' in action! I've used it for a couple of One Hour Wargames in the past, and have plans for some more when I get time.
ReplyDeleteGlad you like it! Thanks for the inspiration!
DeleteRecently played this very game myself and the result was the same.
ReplyDelete